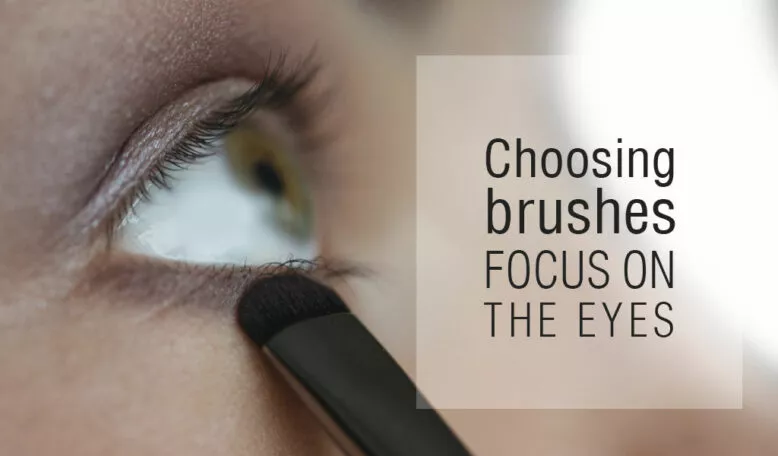
Choosing brushes: focus on the eyes
07/29/2021
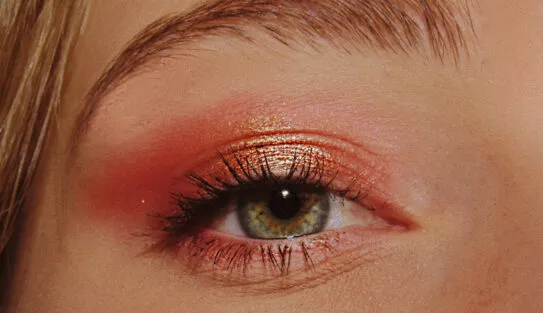
Make-up is an art in its own right. An art that makeup artists shape and reinvent every day. Like a painter, a makeup artist must use the right tools. Here are all our tips to help you choose the right brushes to emphasize your eyes with precision.
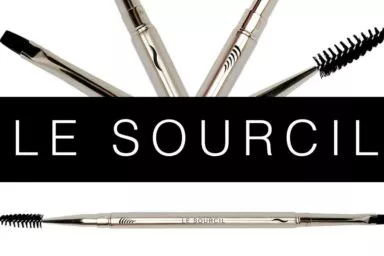
Step 1: eyebrows
To work on your eyes, start by defining your eyebrows.
First, brush your eyebrows from the head to the tip. Use an eyebrow spoolie brush to help structure and discipline them.
Then, be sure to define your eyebrows with a slanted eyebrow brush, which will allow you to precisely rework and intensify the natural shape of your eyebrows, if necessary, with the help of a tinted powder or gel.
Once filled in, do not hesitate to brush your eyebrows one last time to fix them and give a more natural finish.
Step 2: eyeshadows
Before applying your eye makeup, remember to apply a primer with a flat concealer brush to smooth and even out your eyelids and make your eyeshadows last all day.
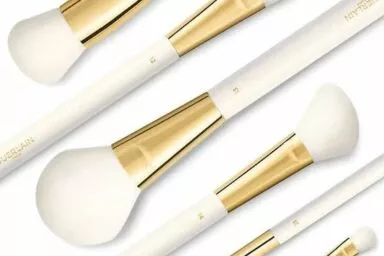
Each makeup product has its own brush! There are several different brushes you can use to apply makeup to your eyelids.
For example, use a flat eyeshadow brush for precise application of cream, pigment or glitter shadows on the mobile eyelid. The eye shader brush is denser than the flat eyeshadow brush and will allow you to apply your eyeshadows and powdery shadows in a more natural way.
You can then use a blending brush to stretch and blend the eyeshadow.
Thanks to its round shape, the round blending brush will allow you to work on both the mobile and fixed eyelids and thus blend the shadows with precision.
The curved blending brush is perfect for blending more precise areas such as the crease, the inner corner of the eye and the lower lash line for a natural application.
More specific areas of the eyes can also be worked on with more specific makeup brushes.
For example, the smudge brush is perfect for intensifying the crease or illuminating the inner corner of the eye.
Thanks to its elongated shape, the flat slanted brush will allow you to precisely apply your eyeshadows on the upper lash line.
Finally, the straight eyeliner brush, which is denser and has a short bristle, will allow you to work on your lower lashes for a natural blurred effect.
Step 3: eyeliner
For a clean application of eyeliner, consider using an eyeliner brush, which will allow you to highlight your eyes with precision. You can adjust the thickness of the line by adjusting the pressure on the brush.
A slanted eyeliner brush will give you a thicker, straighter line for a more intense look. On the other hand, a precision eyeliner brush, which has a softer shape, is recommended for a finer line with a more accentuated comma.
After a little practice, you’ll be able to handle these different eyeliner brushes with ease! Tip: to begin with, prefer the slanted eyeliner brush which will give you more stability to draw the line.
Step 4: mascara
Finally, after applying your mascara, remember to use an eyelash comb or mascara screw brush to avoid clumps of mascara. These will help you separate your lashes and lift your eyes.

We support you from concept development through to production and delivery. Bringing your brush collection to life has never been easier.